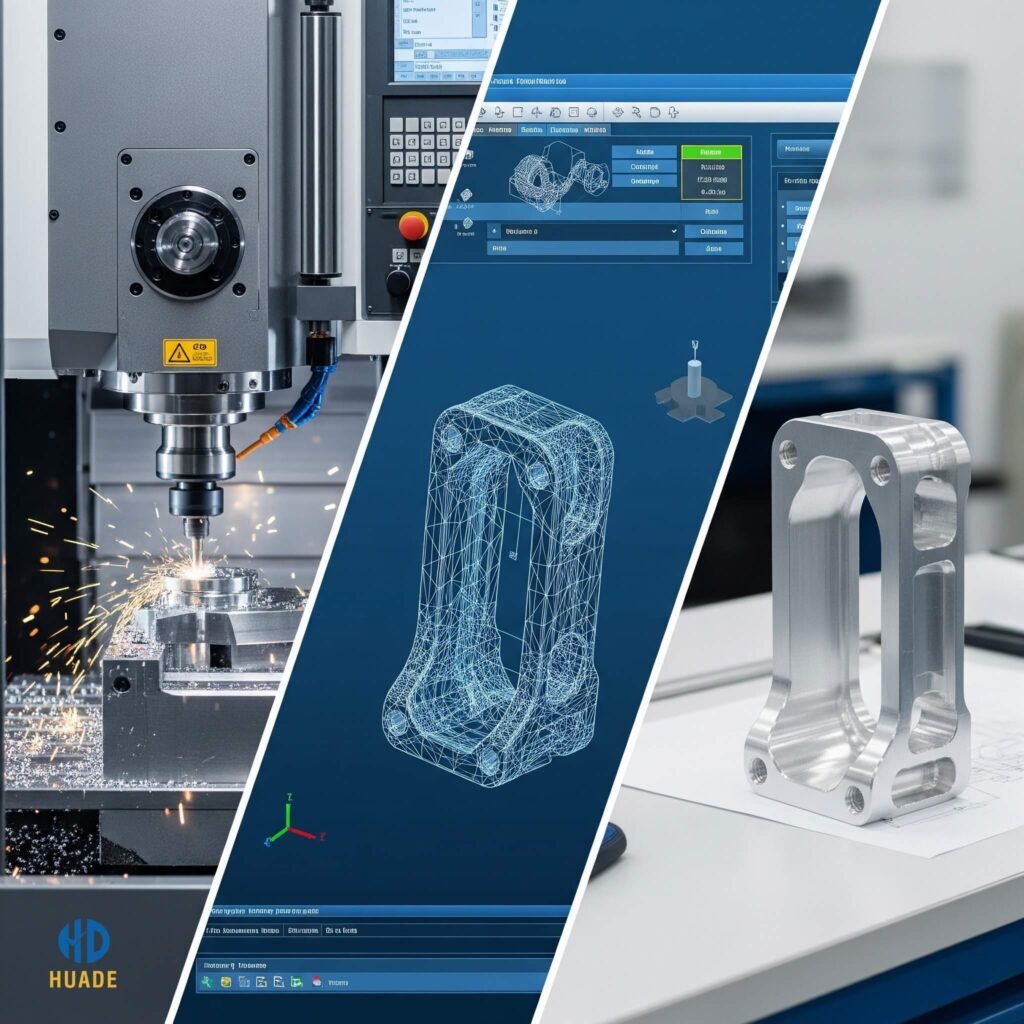
In the fast-paced world of product development, getting your ideas from concept to reality efficiently and accurately is the key to success. One of the most powerful tools for achieving this is CNC prototyping. This ultimate guide will walk you through the entire CNC prototyping process, from initial design considerations to the final delivery of your parts. Whether you’re a seasoned engineer or a first-time product designer, this resource will provide the knowledge you need to make informed decisions and bring your innovations to life.
What is CNC Prototyping?
CNC prototyping, or Computer Numerical Control prototyping, is a subtractive manufacturing process that uses computer-controlled machines to create physical prototypes from a block of raw material. Unlike additive processes like 3D printing, which build parts layer by layer, CNC machining removes material with a variety of cutting tools to achieve the desired shape. This method is highly valued for its ability to produce prototypes with exceptional precision, dimensional accuracy, and material properties that closely mimic those of final production parts.
Key Benefits of CNC Prototyping
Why choose CNC prototyping over other methods? The advantages are significant and often critical to a project’s success:
- High Precision and Tight Tolerances: CNC machines can achieve tolerances as fine as ±0.005mm, ensuring your prototype accurately reflects your design intent and functions as planned. This is crucial for parts that require precise fits and complex geometries.
- Wide Range of Material Options: From metals like aluminum, steel, and titanium to plastics like ABS, Delrin, and polycarbonate, CNC machining can handle a vast array of materials. This allows you to test your prototype with the actual material you plan to use for final production, giving you a realistic understanding of its performance.
- Superior Surface Finishes: CNC-machined parts typically have a smooth, high-quality surface finish directly from the machine. Additional post-processing steps like sanding, polishing, or anodizing can be applied to achieve even higher cosmetic standards.
- Durability and Functional Testing: Prototypes made with CNC machining are robust and durable, making them ideal for rigorous functional testing. You can test your part for strength, thermal resistance, and other mechanical properties under real-world conditions.
- Speed and Efficiency: For many designs, especially those with complex geometries, CNC machining can produce prototypes faster and more cost-effectively than other methods, particularly as designs become more refined.
The CNC Prototyping Process: A Step-by-Step Breakdown
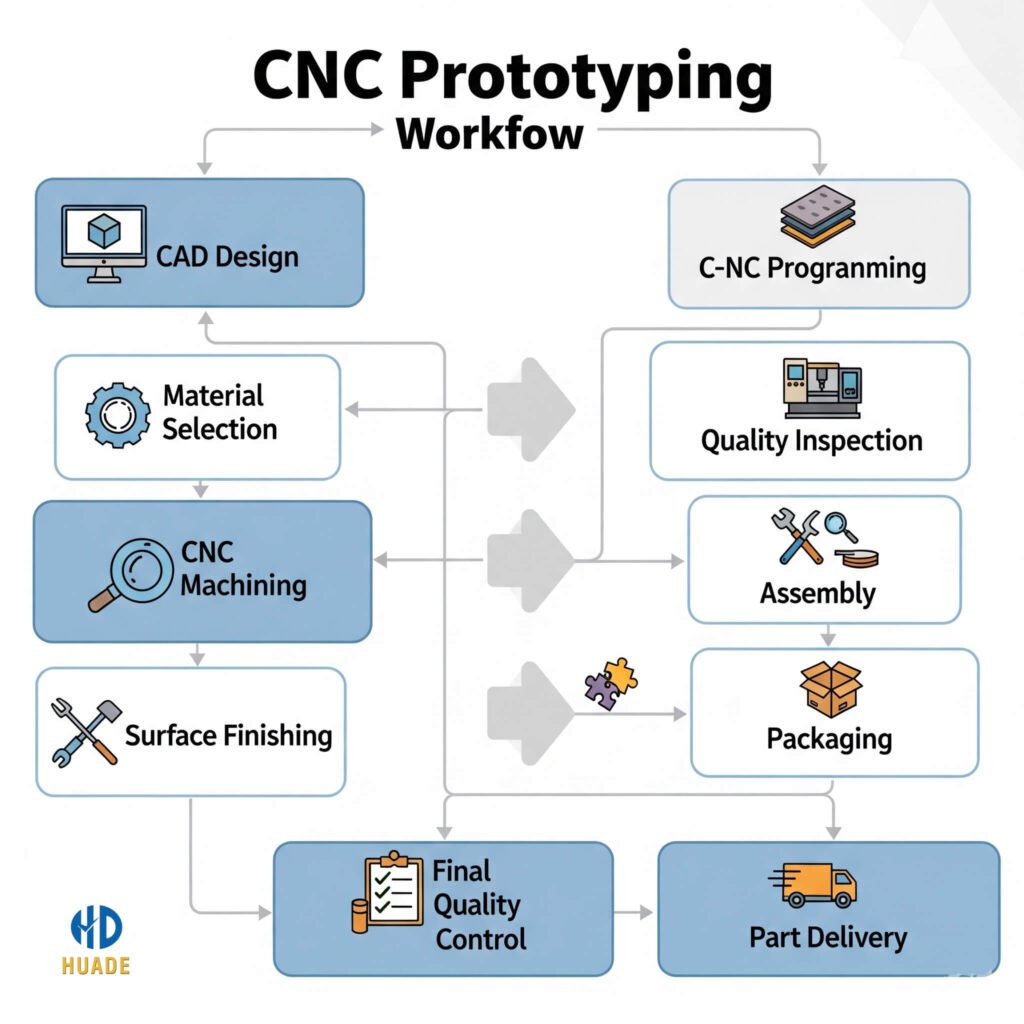
The CNC prototyping journey can be broken down into a series of logical steps, from your initial idea to the moment you hold the finished part in your hand.

Step 1: The Design Phase (CAD Modeling)
The process begins with a detailed 3D model of your part. Using computer-aided design (CAD) software like SolidWorks, Autodesk Inventor, or Fusion 360, you create a digital blueprint that the CNC machine will follow.
Design Considerations at this stage are crucial:
- Part Orientation: Consider how the part will be held in the machine (fixturing). Designing your part with flat, stable surfaces can simplify the setup and reduce costs.
Step 2: Programming (CAM Software)
Once your CAD model is finalized, it’s imported into computer-aided manufacturing (CAM) software. The CAM software translates the 3D model into a series of instructions, known as G-code, that the CNC machine can understand.
This step involves:
- Toolpath Generation: The software determines the optimal path for the cutting tools to follow to remove material.
- Tool Selection: Choosing the right cutting tools (end mills, drills, taps) based on the material, geometry, and desired surface finish.
- Cutting Parameters: Defining critical parameters like cutting speed, feed rate, and depth of cut, which are vital for efficient machining and tool life.
Step 3: Material Selection
Choosing the right material is one of the most important decisions you’ll make. The best material for your prototype depends on its intended use, required properties, and budget.
A Closer Look at CNC Prototyping Materials
To make an informed decision, a detailed comparison of mechanical properties, costs, and applications is essential. Read our in-depth guide to explore [How to Choose the Right Materials for CNC Prototyping] to find the perfect option for your project.
| Material Type | Examples | Key Properties | Typical Applications |
| Metals | Aluminum 6061 | Lightweight, high strength-to-weight ratio, excellent thermal conductivity | Aerospace, automotive parts, electronic enclosures |
| Metals | Stainless Steel 304 | High strength, corrosion resistance, durability | Medical devices, industrial components, functional hardware |
| Metals | Brass | High electrical conductivity, good machinability, low friction | Connectors, fittings, decorative parts |
| Plastics | ABS | Impact resistant, good rigidity, cost-effective | Electronic enclosures, consumer goods, protective casings |
| Plastics | Polycarbonate (PC) | High impact strength, optical clarity, heat resistant | Lenses, protective covers, machine guards |
| Plastics | Delrin (POM) | Low friction, high stiffness, excellent dimensional stability | Gears, bearings, snap-fit parts |
| Plastics | Nylon | High tensile strength, wear resistance, chemical resistance | Bearings, gears, structural components |
Step 4: The Machining Process
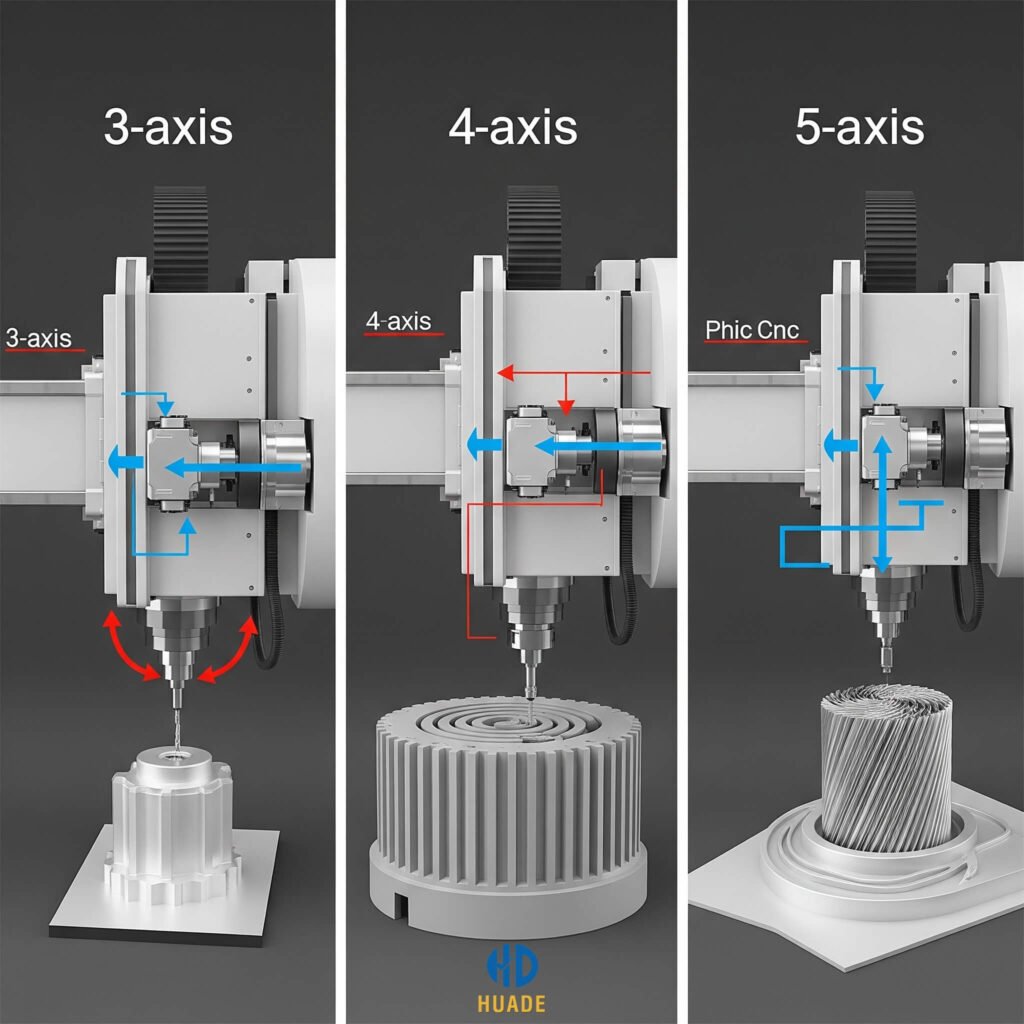
With the G-code and material in place, the actual machining begins. The CNC machine, which could be a 3-axis, 4-axis, or 5-axis machine, then precisely cuts the part from the stock material.
- 3-Axis Machining: Moves along the X, Y, and Z axes. Best for parts with simpler geometries and flat surfaces.
- 4-Axis Machining: Adds a rotational axis (A-axis or B-axis) to the 3-axis capabilities. Ideal for parts with features on multiple sides without needing to be re-fixtured.
- 5-Axis Machining: Adds two rotational axes, allowing the cutting tool to approach the part from virtually any angle. This enables the creation of highly complex, organic shapes and reduces the need for multiple setups.

Enhancing Functionality and Aesthetics: A Look at CNC Surface Finishes
The journey of a prototype doesn’t end when it comes off the machine. Post-processing and surface finishing are crucial steps to achieve the desired aesthetics, durability, and functionality. Surface finishes can improve a part’s resistance to corrosion, enhance its appearance, and even alter its physical properties.
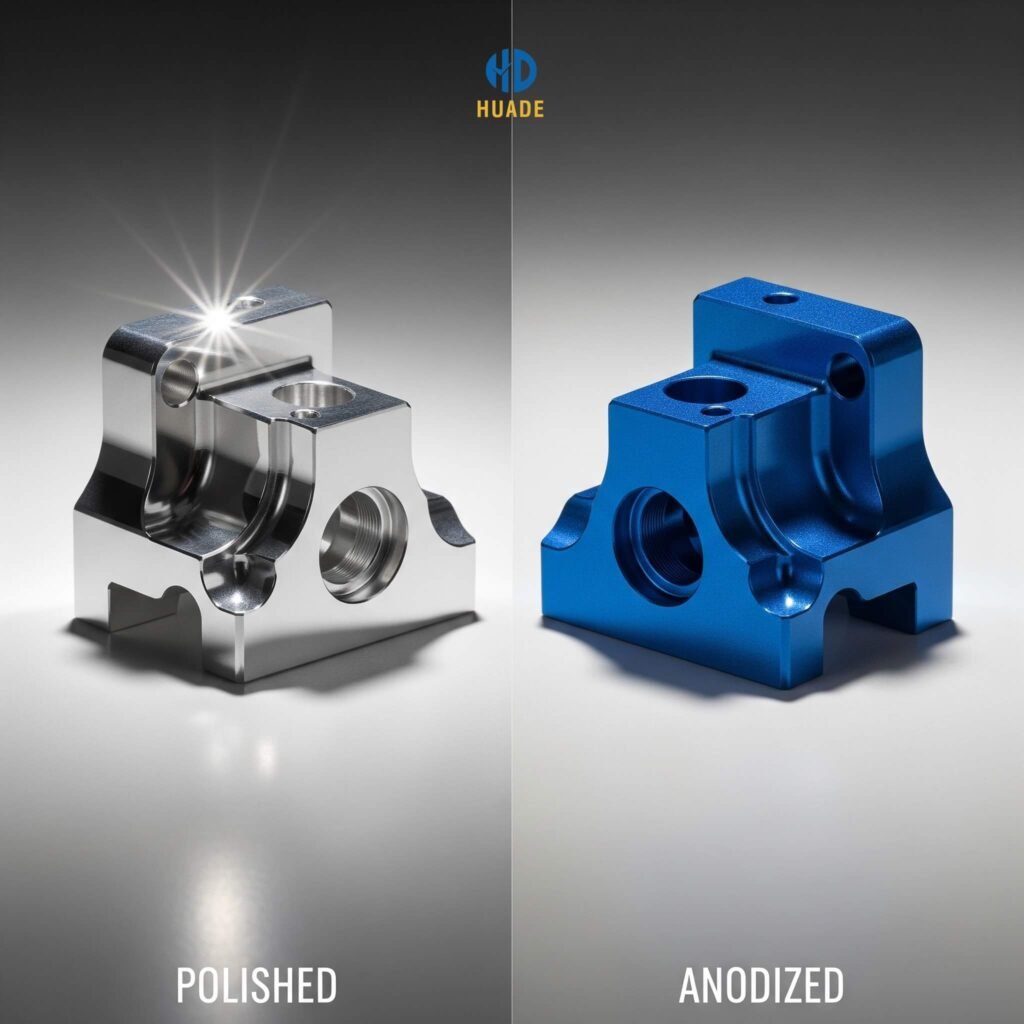
- Anodizing: An electrochemical process for aluminum parts that creates a durable, corrosion-resistant layer. It can also be colored to match specific aesthetic requirements.
- Plating: A process of coating a part with a thin layer of metal (e.g., nickel, chrome) to improve wear resistance, lubricity, and corrosion protection.
- Bead Blasting: Uses a stream of tiny beads to create a uniform, matte finish, ideal for parts that need a non-reflective or textured appearance.
- Polishing: A mechanical process to achieve a smooth, reflective surface, often used for aesthetic parts or those requiring a high-quality feel.
To understand the full spectrum of options available for your prototype, including their pros and cons, read our full guide on [The Ultimate Guide to CNC Surface Finish].

Ensuring Precision: A Guide to CNC Machining Tolerances
In the world of precision manufacturing, tolerances define the acceptable deviation from a nominal dimension. Achieving the right level of precision is paramount for a functional prototype, especially for parts that must fit together perfectly in an assembly.
- What are Tolerances? Tolerances are the specified limits within which a dimension must lie. They are crucial for ensuring the interchangeability and function of parts.
- Tolerance Grades: International standards like ISO 2768 define various tolerance grades, from “fine” (
f) for high-precision fits to “medium” (m) for general-purpose applications. - The Cost of Precision: It’s important to note that tighter tolerances require more meticulous machining processes, specialized tools, and longer run times, which significantly increase the final cost. Therefore, it’s wise to specify tight tolerances only where functionally necessary.
For a deep dive into the world of geometric dimensioning and tolerancing (GD&T) and how it affects your parts, check out our comprehensive article on [A Deep Dive into CNC Machining Tolerances].
Understanding the Bottom Line: Key Factors Influencing CNC Prototyping Cost
The cost of a CNC prototype is not a single number but a result of several key factors working together. Understanding these can help you optimize your design to stay within budget.
- Material Costs: The price of the raw material stock is a direct contributor to the total cost. High-performance materials like titanium and advanced engineering plastics are significantly more expensive than standard aluminum.
- Machining Time: This is the most significant cost factor. It’s determined by the part’s design complexity, the type of material (harder materials take longer to cut), and the required surface finish.
- Design Complexity: Parts with complex geometries, deep pockets, thin walls, and tight tolerances all require more sophisticated programming and longer machining times, thus increasing costs.
- Surface Finishes: As discussed, post-machining processes like anodizing or plating are additional steps that add to the total cost of the prototype.
- Order Volume: As with most manufacturing, the cost per part decreases as the quantity increases due to economies of scale and amortized setup costs.
For a detailed breakdown of how these elements combine to determine the final price of your project, see our deep dive into [5 Key Factors That Influence the CNC Rapid Prototyping Cost].
CNC Prototyping vs. 3D Printing: A Comparative Overview
While 3D printing is a popular choice for rapid prototyping, it’s not always the best solution. CNC machining offers distinct advantages that are crucial for many projects.
- Material Properties: CNC prototypes are made from a solid block of the actual material, giving them true mechanical properties for functional testing. 3D printed parts, especially from FDM printers, can have anisotropic properties and are often not strong enough for real-world testing.
- Precision and Tolerances: CNC machines can hold much tighter tolerances and produce parts with superior dimensional accuracy compared to most 3D printers.
- Surface Finish: CNC-machined parts have a smooth, high-quality finish straight from the machine, while 3D printed parts often have visible layer lines that require extensive post-processing to remove.
- Strength and Durability: For parts requiring high strength, stiffness, or durability, CNC machining is the clear winner. The solid nature of the material stock ensures the prototype’s integrity under stress.
How to Choose a CNC Prototyping Service Provider
Choosing the right partner is crucial for a successful prototyping project. Here are key questions to ask when evaluating a service provider:
- What are their capabilities? Do they have the right machinery (3, 4, 5-axis), materials, and expertise to handle your specific project?
- What is their quality control process? Ask about their inspection methods and certifications (e.g., ISO 9001).
- Can they provide design for manufacturability (DFM) feedback? A good service provider will review your design and offer suggestions to reduce costs and improve manufacturability.
At Dongguan Huade Precision Manufacturing Co., Ltd. (hdcncproto.com), we understand the critical role CNC prototyping plays in bringing your ideas to life. Our team of experts is dedicated to providing high-quality, precise parts with fast turnaround times. From initial design review to final delivery, we work with you every step of the way to ensure your project’s success.
Visit our Services page to learn more about what we offer, or Contact Us to get a quote today and let us help you turn your vision into a reality.
